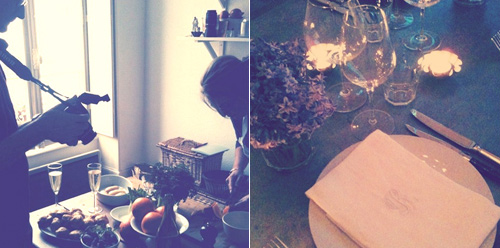
 all photos and recipes in this post by Marjorie Taylor from The Cook’s Atelier
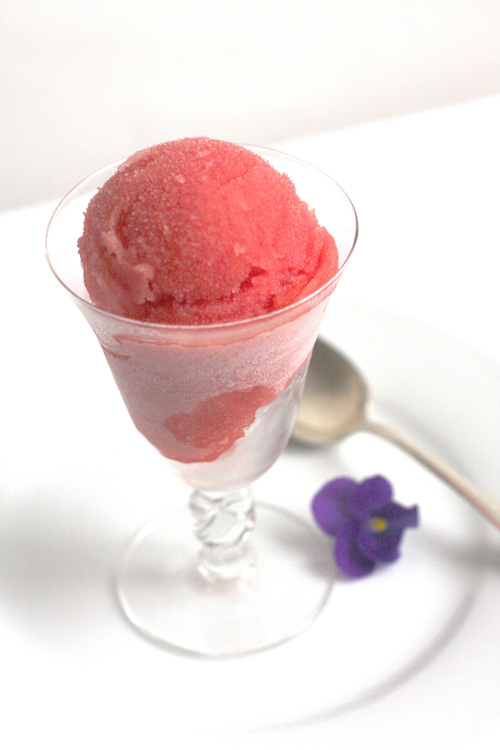
We serve a homemade sorbet as a little special treat before the dessert course at The Cook’s Atelier. This blood orange sorbet is a favorite!
Blood orange sorbet:
From Bouchon, by Thomas Keller
Makes about 1 quart
1 1/2 cups sugar
1/2 cup water
3 cups strained blood orange juice or fresh orange juice (from about 12 oranges)
Combine the sugar and water in a small saucepan and bring to a boil over medium-high heat, stirring to dissolve he sugar. Transfer to a medium bowl and allow the syrup to cool to room temperature. Add the orange juice and refrigerate until cold.
Transfer to an ice cream machine and freeze according to the manufacturer’s instructions.
…………………………………………………
Gariguette strawberries are the first to appear at the spring market and are perfect for this simple tart. The pâte sablée recipe is a new favorite from Tartine by Elisabeth M. Prueitt and Chad Robertson.
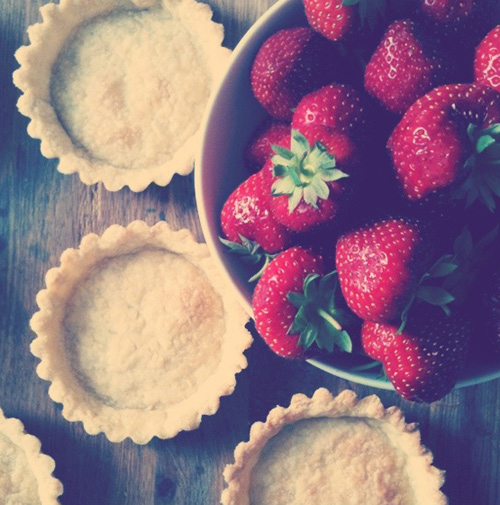
Strawberry tart:
Pâte sablée
From Tartine Bakery, by Elisabeth M. Prueitte
Makes four 9-inch tart shells or twelve 4-inch tartlet shells
1 cup plus to tablespoons unsalted butter, at room temperature
1 cup sugar
1/4 teaspoon fleur de sel
2 large eggs, at room temperature
3 1/2 cups all purpose flour
Using a stand mixture, combine the butter, sugar and salt and mix on medium speed until smooth. Add the eggs, one at a time, and mix until smooth. Stop the mixer and scrap down the sides of the bowl with a rubber spatula. Add the flour all at once and mix on low speed just until combined. Be careful not to overwork the dough.
Transfer the dough to a large work surface and bring it together with our hands to incorporate completely. Divide the dough into 4, shape into 1-inch thick discs. Wrap well in plastic rap and chill for at least 2 hours or overnight.
Place it on a lightly floured work surface, sprinkle a little flour over the dough, and roll it out into a 1/8-inch-thick circle, flouring as necessary. Lift and rotate the dough a quarter turn after every few strokes to discourage sticking. Cut out a circle 2 inches larger than the pan. If using a 9-inch tart pan, starting at one side, roll and wrap the dough around the rolling pin to pick it up. Unroll the dough over the tart pan. Carefully ease the dough into the bottom and sides of the pan. Be careful not to stretch the dough or the sides will shrink during baking. If the dough develops any tears, just patch with a little extra dough, pressing firmly to adhere. To remove the excess dough, work your way around the edge pinching off any excess dough with your fingers. Place the pastry shell in the refrigerator or freezer until firm, about 15 minutes.
Preheat the oven to 325 degrees F.
Dock (make small holes) the bottom of the tart shell or tartlet shells using a fork. Place in the oven and bake for 7 to 10 minutes for a partially baked large shell or 5 to 7 minutes for tartlet shells. The pastry should be lightly colored and look dry and opaque. Check the shells during baking and rotate the pans if necessary for even color.
For a fully baked shell, bake until golden brown, about 5 minutes longer. Let cool completely on wire racks.
For the pastry cream…
Francois Payard’s Crème Patissiere
1/2 cup milk
1/2 cup heavy cream
1 vanilla bean, split
3 large egg yolks
1/4 cup sugar
2 1/2 tablespoons all-purpose flour
In a small saucepan over medium heat, scald milk, heavy cream, and vanilla bean by bringing the mixture just to a boil. Remove from heat, cover, and let steep for 10 to 12 minutes. Remove vanilla bean.
In a small bowl, whisk together egg yolks and sugar until light and fluffy, about 2 minutes. Add flour and continue whisking until smooth.
Slowly pour the hot-milk mixture into the egg mixture. Whisk until complete smooth and free of lumps. Return the mixture to the saucepan, and place over medium heat. Bring the mixture to a boil, whisking constantly, and cook for another 2 minutes.
Remove the pastry cream to a bowl. Place a sheet of plastic wrap directly on top of the pastry cream to prevent a skin from forming. Refrigerate until ready to use.
To prepare the tart…
Have the tart shell ready for filling. Trim strawberries to about the same height. Fill the tart shell with a layer of pastry cream. Arrange strawberries in a single layer of the top, placing cut sides down. Dust with confectioner’s sugar and top with a dollop of soft whipped cream.
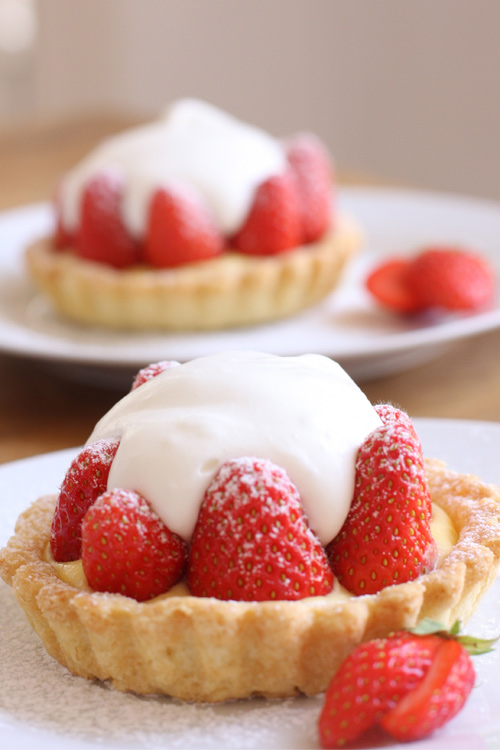
Recipe from Marjorie Taylor, The Cook’s Atelier


